Pages

Showing posts with label digital manipulation. Show all posts

Wednesday, September 19, 2018

Two Week's

Hi All,

As fall slowly creeps in here in AZ, we are actually enjoying the last of the monsoon season.  Just had a bit of rain earlier today; wishing for more!

Here are a couple of new images created during the last couple of weeks.

Just Playing, Tucson, AZ

Just Playing is a picture of some plumbago blossoms.  In nature these are a pale blue.  However in my hands they have become a shade of purple, except for the one that has been highlighted.


Pink Mallow, York, ME

In July I had a chance to visit New England. These pink mallow flowers were found on top of Mt. Agamenticus, in York, Maine.  This image has been digitally manipulated to add texture and more.


I've also been busy adding more fabric designs to my Spoonflower shop.  Some of the latest are below.

 Circle Stripes

In The Pink - Kaleidoscope


Mt. A Long Bridge - Vertical Stripes in some of the available colorways.
In looking at Circle Stripes above, this may end up being more than fabric in the near future.

I hope you have a wonderful week ahead full of peace and love,
Judi


Tuesday, April 11, 2017

You Learn Something New Every Day...

Well, at least I do.  Here's what I learned yesterday:


My mind's been blown - I've used Photoshop and GIMP to edit images over the course of many years. I've always had a tough time isolating an item from a background when the image was in a natural setting.
 
I love to watch "Quilting Arts" on PBS (Ready/Create) here in Tucson; I always learn something new, usually about sewing or something else fiber related.
 
So, what do these two things have to do with each other you may ask?  Well, yesterday I got to watch Episode 1904 of "QA" on transfer techniques. But here's the best thing I learned - one can use Powerpoint, yes the presentation software, to remove a background - and it is much more easily done, at least for me, than the editing software mentioned above. WOW! 
 
So, I proceeded to "play".  Here's my first result - before on the left, after on the right.
 
 
 Although easily accomplished, it's not the be-all and end-all of editing.  The main problem is that PowerPoint (at least in 2010 version I run) saves a JPG or PNG at a rather small size, 96DPI.  (If this makes a large enough image for your needs, then you can stop here and print or otherwise use your new creation.)

Otherwise, one way to get around this is to use the registry editor to change the size permanently.  At this point I haven't done that.  If you decide to do so, please be sure you first back up your registry; then follow directions  you can find here.

There is also a "compress image" option that allows for various sizes, but at least for this dragon fly it caused the loss of large parts of the image so I couldn't use it - your mileage may vary!

I took a simpler approach and followed Ana Buzzalino's instructions from the show with just a few tweaks that she didn't discuss. (Preview here.)

Here's what I did:
1. Set the slide size as large as possible.
2. Cleared all of the pre-formatted areas so I was starting with a blank slide.
3. After inserting the original picture, used the "handles" to enlarge it to as large a size as possible to fill the slide.
4. Before I saved my slide as a png (same would work for JPG) I first placed a thick black matte picture style around it. 
5. I did then use GIMP to remove this black "background" which left the dragon fly with a nice black edge around it (tried it with white first, but didn't like it as much.) This was a simple select (I used the fuzzy select tool) and clear (delete) procedure. 
6. I also ultimately "resized" my result to make it larger, mainly so it would line up in the image above.  Normally I would not do this. 

And here is an example of adding this lovely dragon fly to an image that previously did not have one! Doesn't it look "right at home"?


 I hope you'll give it a try - it's fun! 

Peace for all!
Judi

Tuesday, January 31, 2012

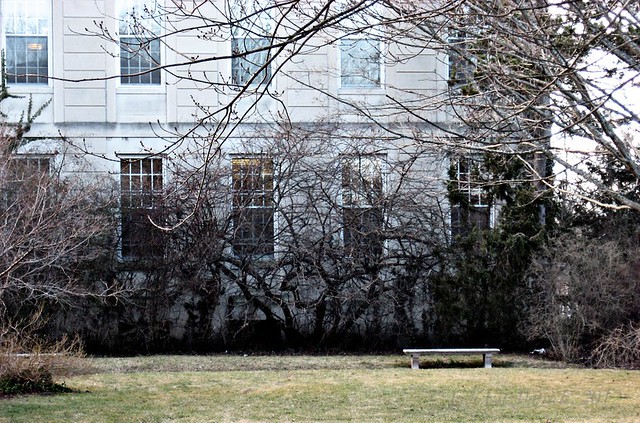
Empty - Week 5

Empty - Week 5

It was chilly on my walk yesterday so I didn't linger after taking a few pictures near the Town Hall in the park. This one, of the empty bench, seemed very representative of the feel of the day.

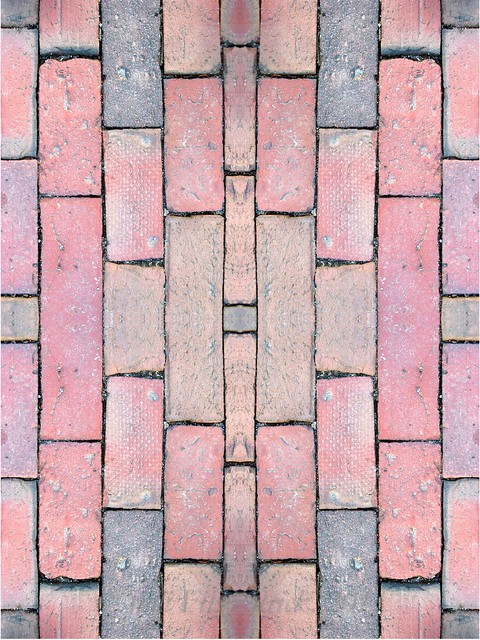
I also took a couple of shots of the bricks lining the pathways in the park. This particular one cried out to be digitally enhanced and expanded.

Brick Abstract

May your week be a wonderful and peace one!
Judi

Tuesday, November 2, 2010

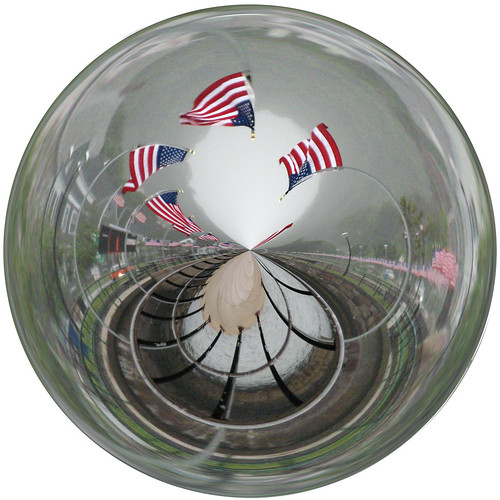
Gloucester Flags Circle-2

I love making these Amazing Circles. This one was made from a landscape photo taken in Gloucester, MA.

If you'd like to see more of the circles I've made, you'll find my Flickr set here.

If you'd like to try making them yourself, check out this tutorial.

Peace, Judi